Beginners Guide to Setup a Local ChatGPT Alternative using Open WebUI and Ollama

A few days ago, I wrote a step-by-step guide on establishing a local ChatGPT equivalent using ChatBot-UI and Ollama. Although the process was generally smooth, there were moments when it required extra effort. Nevertheless, I discovered that the final outcome was highly gratifying.
 Philipp Zimmermann
However, my colleague Tobias Anders introduced me to an even more straightforward method, which we will be utilizing in this tutorial. By employing OpenWebUI, we'll configure our local setup with ease and efficiency.
List of Projects
- Open-WebUI - an open source web ui for chatting with LLMs (former Ollama WebUI)
- Ollama - a framework for running LLMs locally
Prerequisites
Before we can get started we need to ensure we fulfill the following requirement.
Docker
Docker must be installed for Open WebUI to run locally. We will use docker-compose to setup our own docker-stack which runs the application. So make sure you are able to use the docker command. You can download it here.
Install Ollama
Ollama is a piece of software that allows us to deploy and use Large Language Models locally on our machine. We will download Ollama using their website. Just choose your OS, download and install it.
After we installed Ollama we now need to download some models we want to use. This is a list of all supported models Ollama has to offer but here are some recommendations:
- OpenChat : Smart model with good reasoning skills
- CodeLlama : Llama-2 model finetuned for coding and code explanation
- Llama2-Uncensored : Llama-2 but uncensored
To use each of these models we first need to download them. Therefore just use the following commands.
# OpenChat
ollama run openchat

# CodeLlama
ollama run codellama

# Llama2-Uncensored
ollama run llama2-uncensored
Open WebUI - Quickstart
For those who have previously read my blog post on utilizing ChatBot-UI, you might be interested in exploring whether this alternative approach suits your needs more effectively. Fortunately, we can do this with just one simple command. This allows you to experiment and determine if it is the right long-term solution for you.
Open up your terminal and execute the following command.
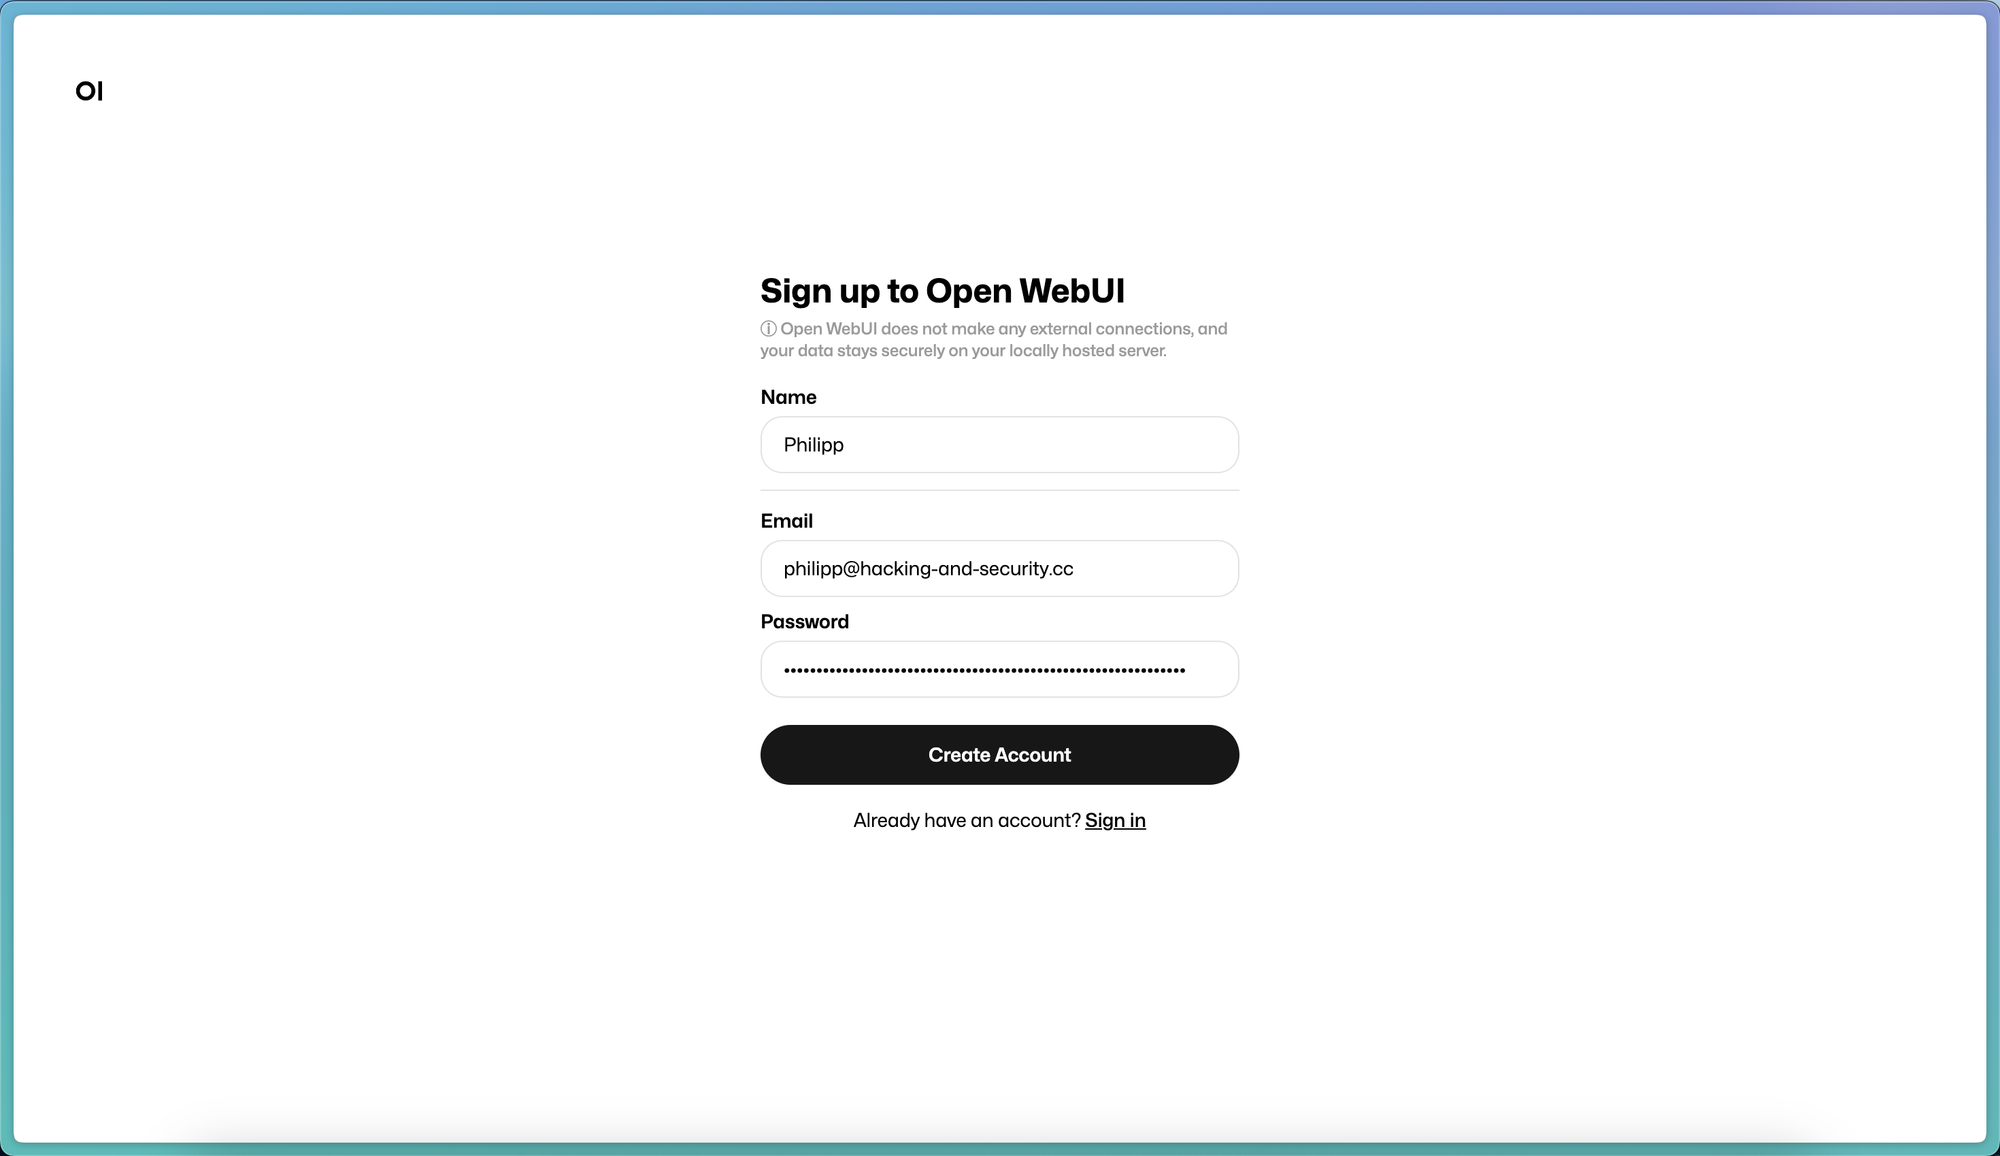
docker run -d -p 3000:8080 --add-host=host.docker.internal:host-gateway -v open-webui:/app/backend/data --name open-webui --restart always ghcr.io/open-webui/open-webui:mainAfter you executed the command you can access Open WebUI in your browser at http://localhost:3000. Like with ChatBot-UI you will need to signup first. But since everything is running locally, your data will not leave your machine. So just create an account like I did below.
After that you will see the following screen which provides some information about the latest version of Open WebUI.
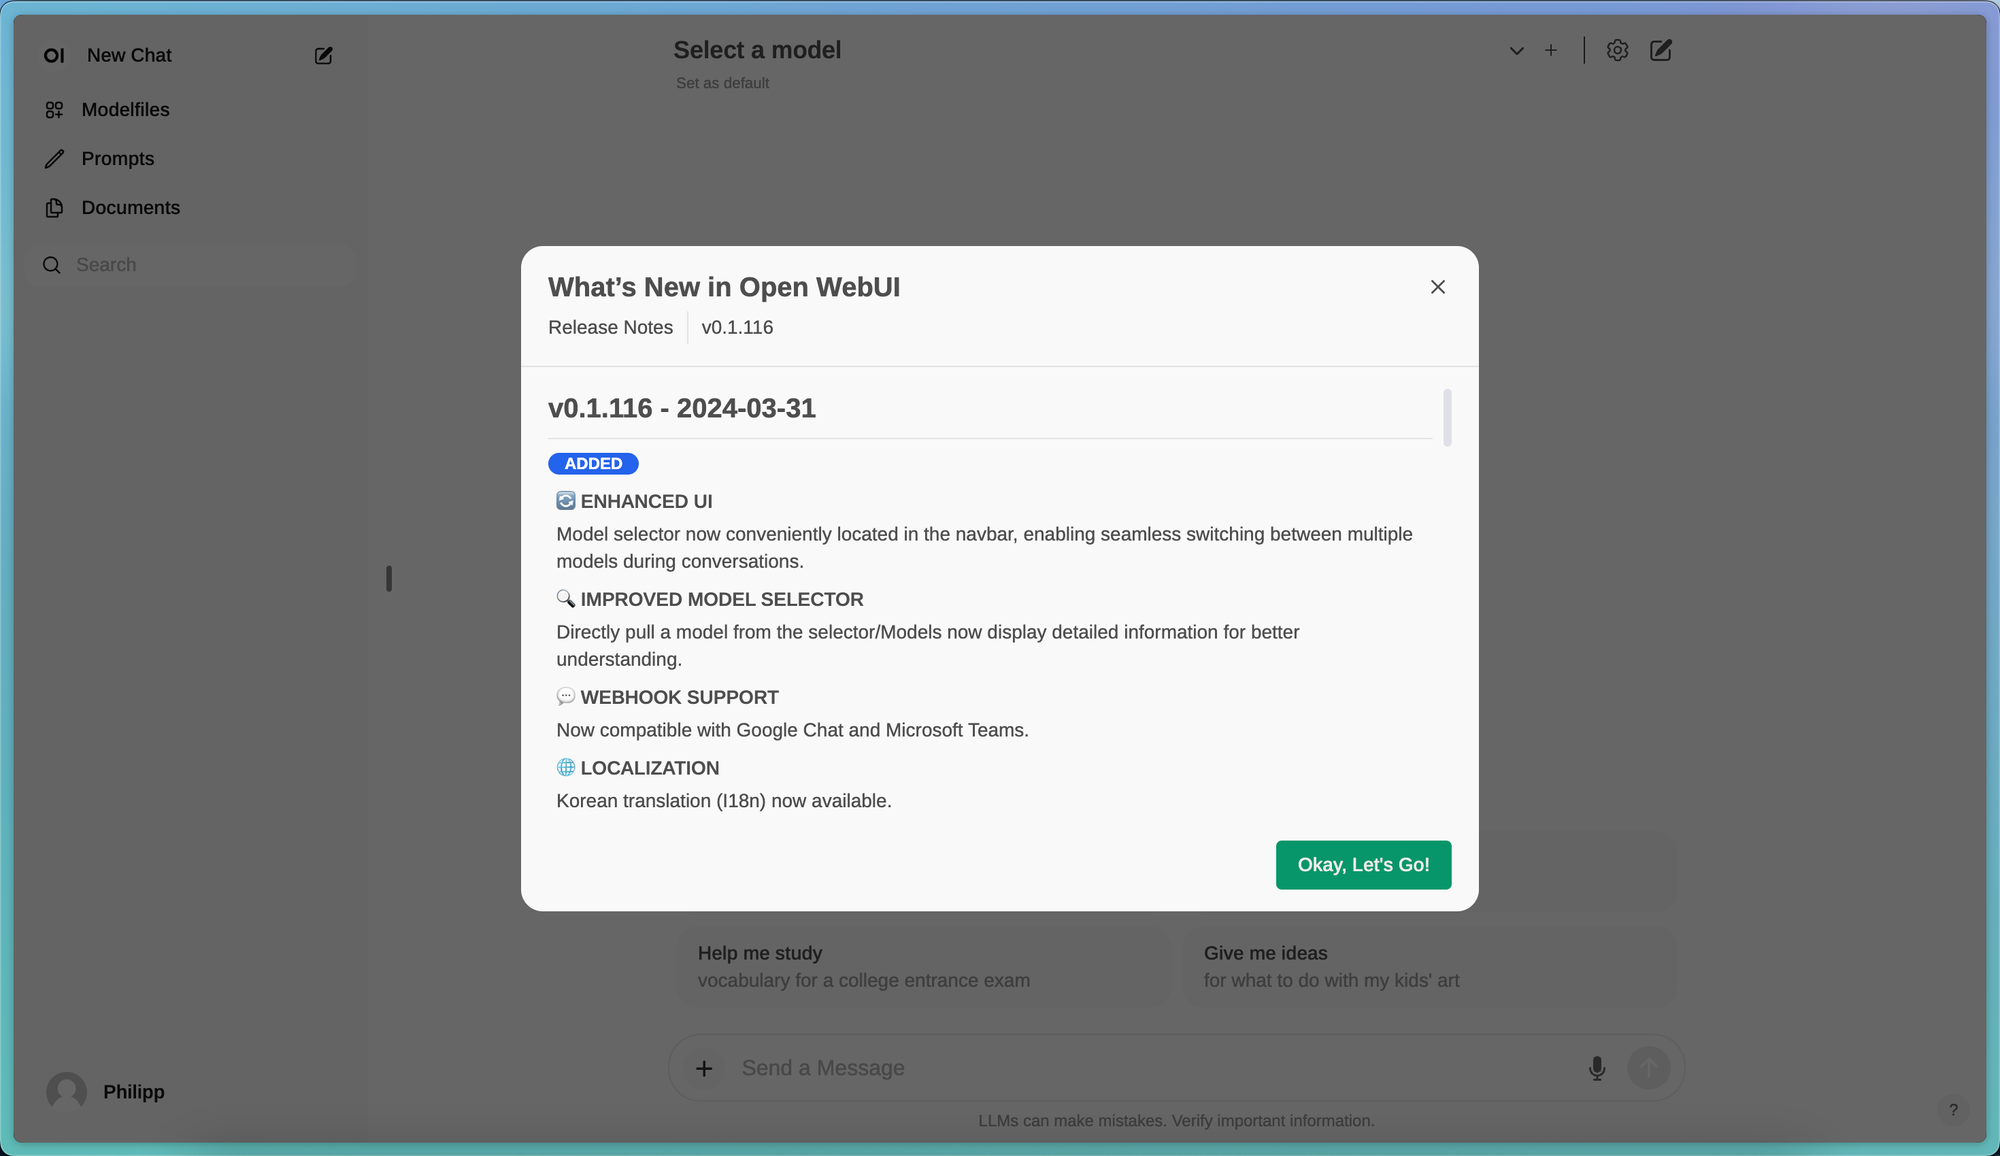
Now you can click on Okay, Let's Go! and start your very first conversation. Therefore, you need to click on Select a model and you will see a drop down menu which includes all your Ollama models by default.
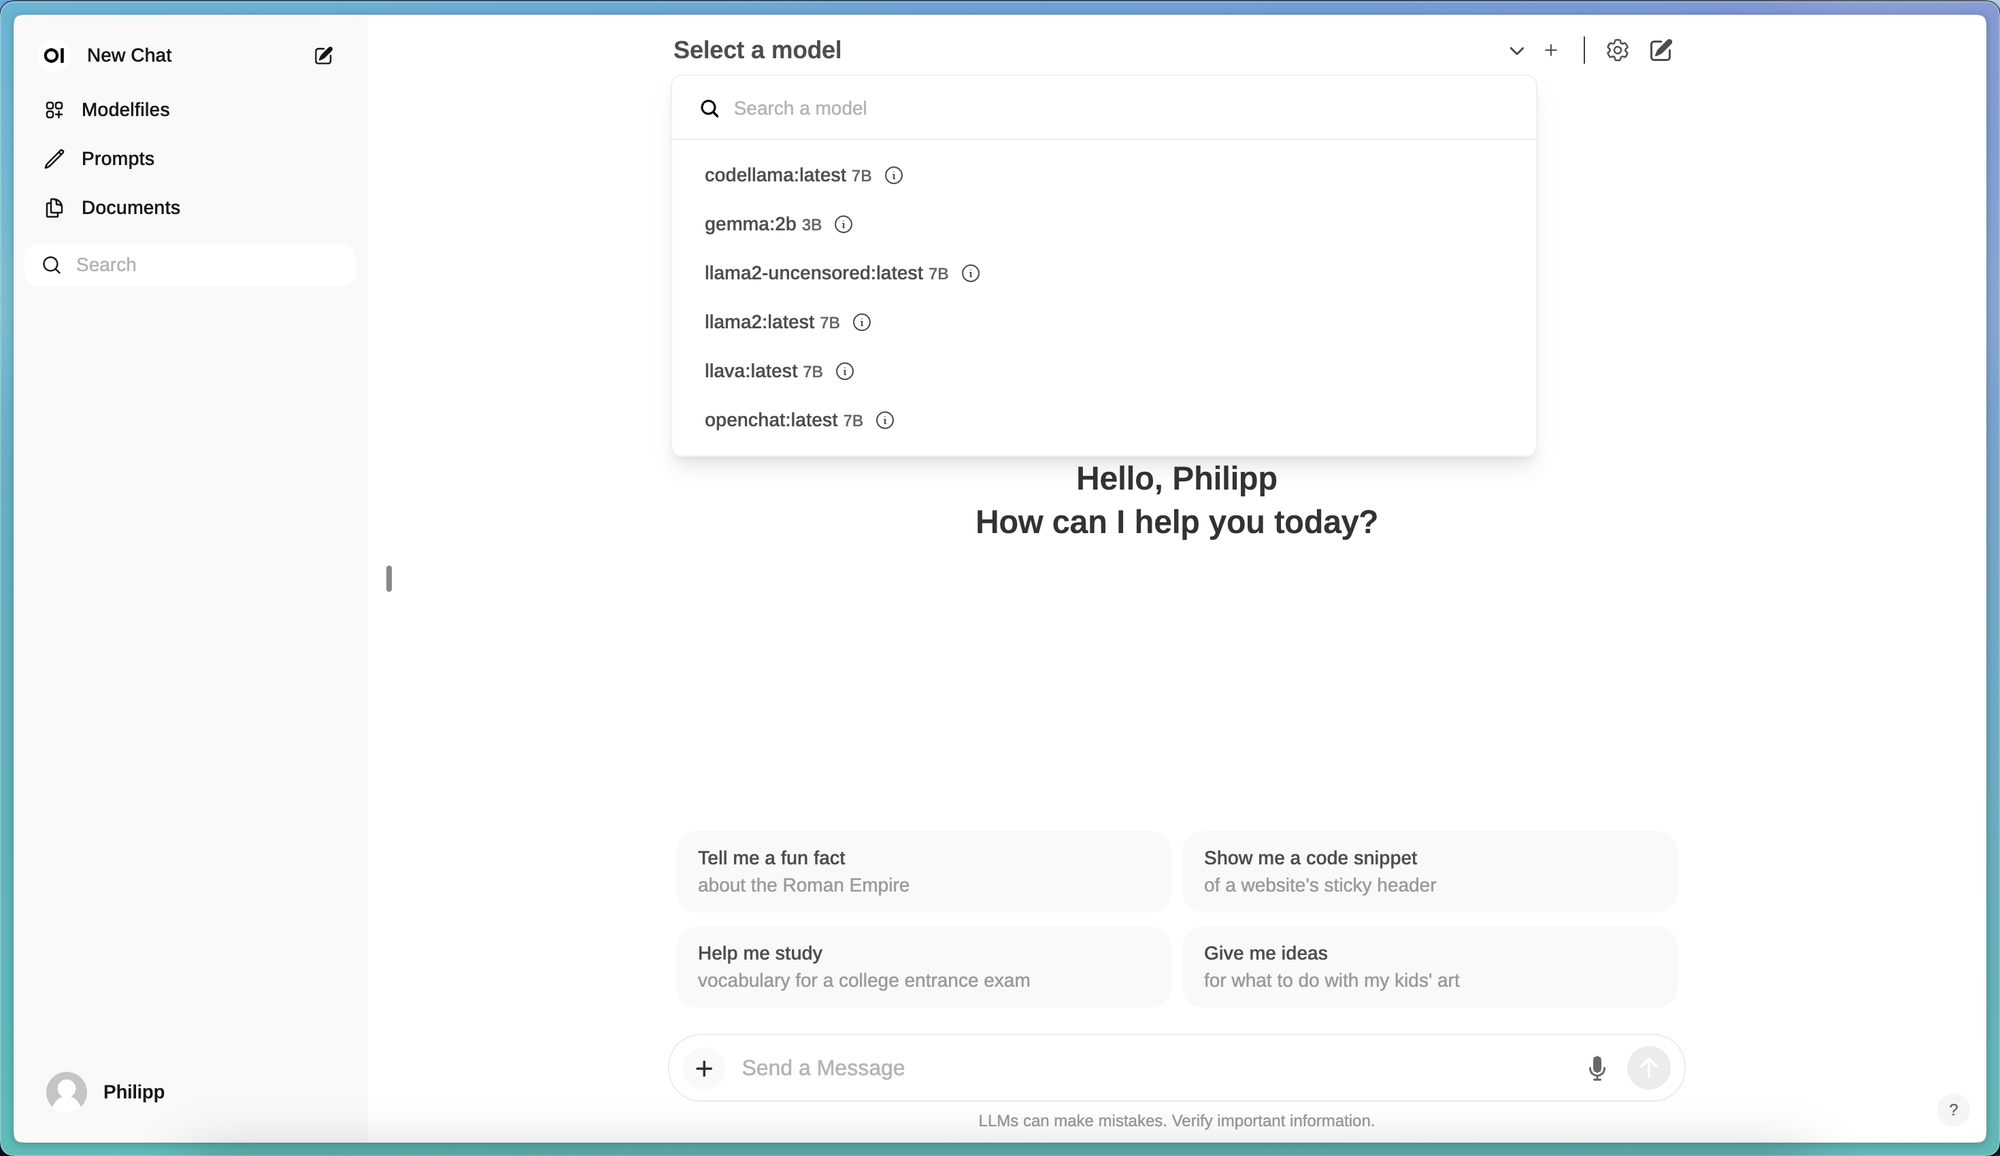
Just choose one and have the conversation like i did below.
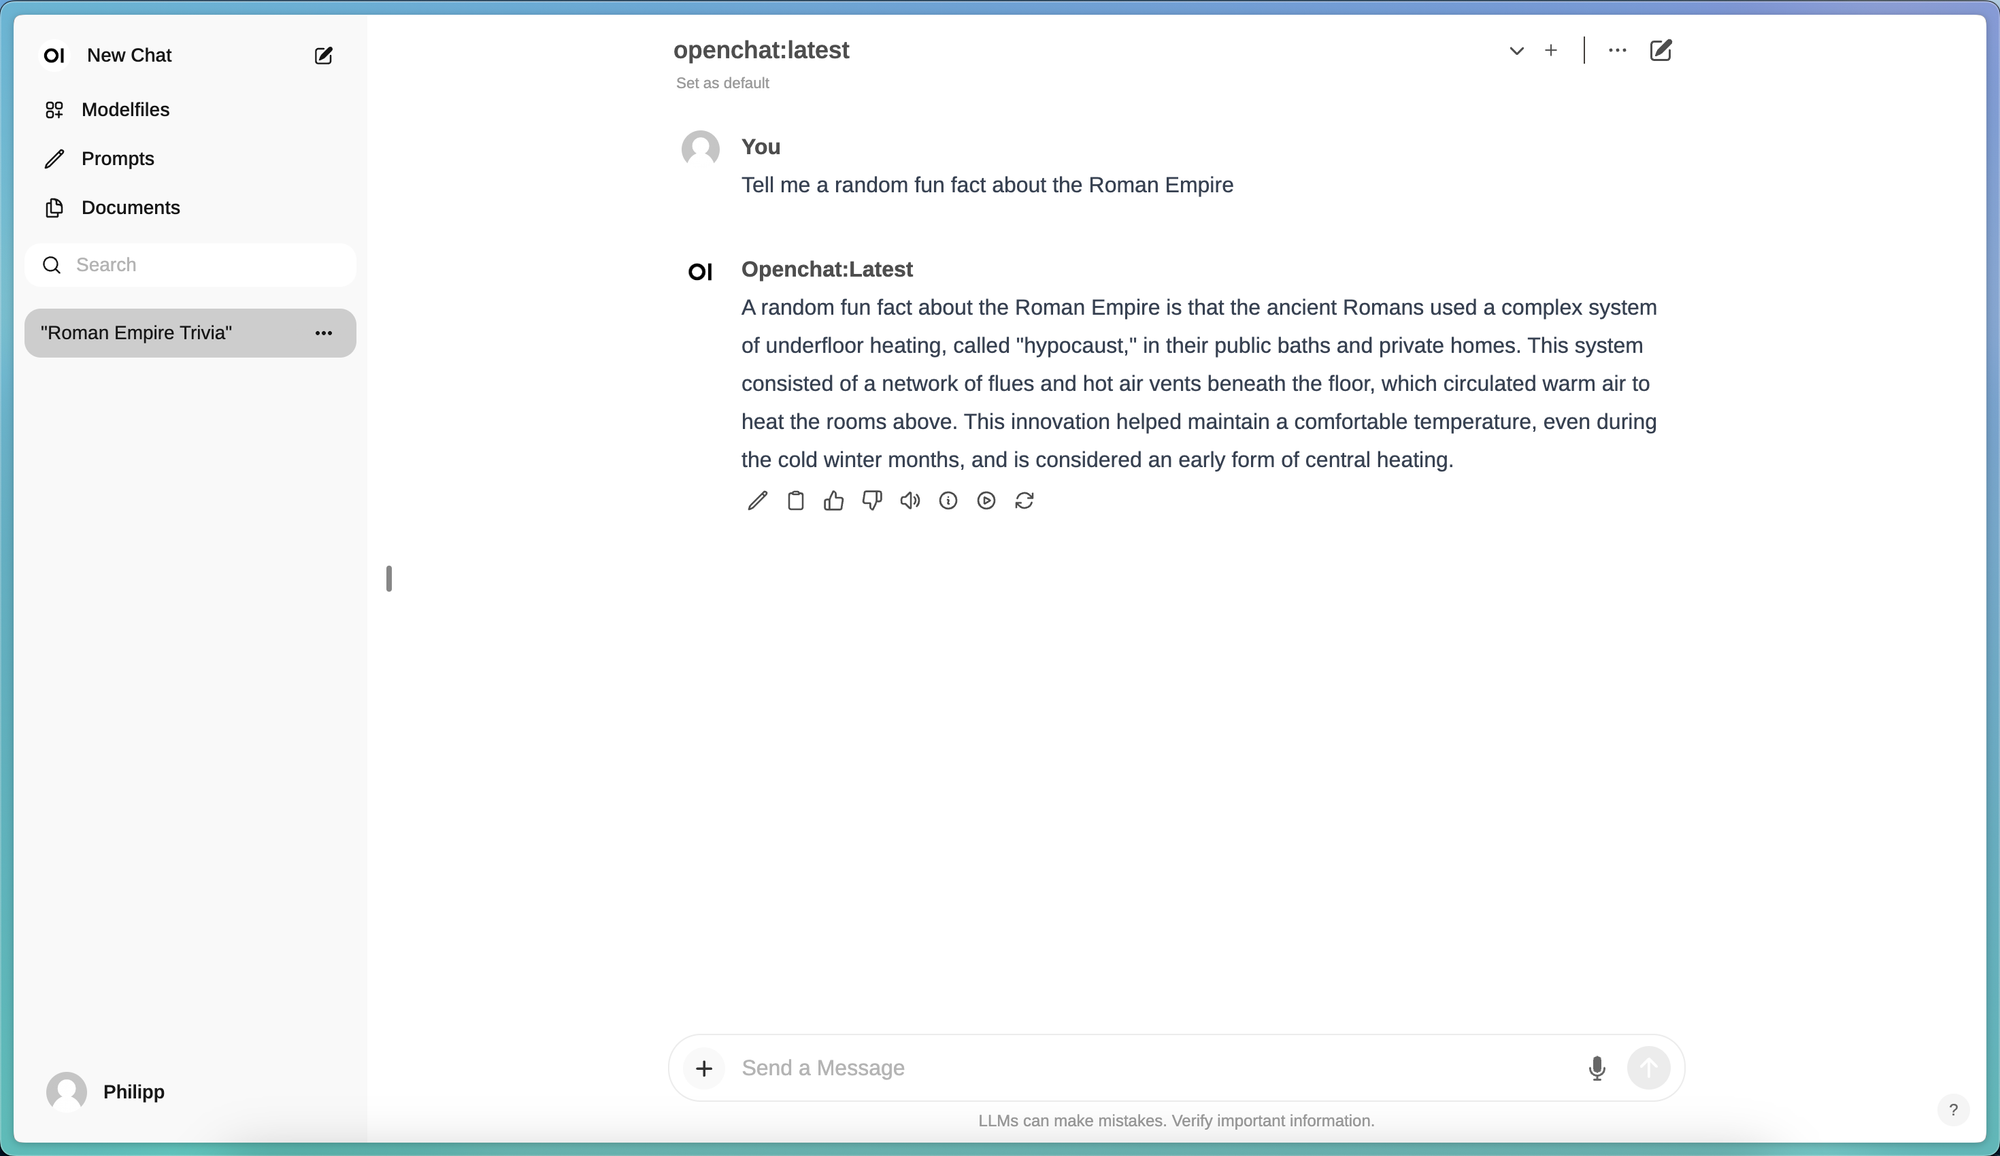
And that's it. You can now explore Open WebUI and if you decide to keep it - just like I did - you can follow the next steps to set it up using docker-compose.
Open WebUI - Docker Compose Setup
As an enthusiast of containerizing all my applications using Docker, I enjoy employing various Docker commands like the one mentioned above and crafting my own docker-compose file for them. This is primarily a personal preference, but I find it more transparent and organized.
So let's do exact this. Therefore, we need a new directory where we can save our docker-compose file to.
# Create new directory
mkdir open-webui
Directory Creation
Now we can change directory into the one we just created and start writing our docker-compose file.
# Change directory
cd open-webui

# Open up docker-compose.yaml using vim
vim docker-compose.yaml
Docker Compose File Creation
You can now just copy the following content into the docker-compose.yaml file. Of course you can also change stuff if you want.
version: "3.9"

volumes:
  data:

services:
  open-webui:
    image: ghcr.io/open-webui/open-webui:main
    container_name: open-webui
    restart: always
    ports:
      - "3000:8080"
    volumes:
      - data:/app/backend/data
    extra_hosts:
      - "host.docker.internal:host-gateway"
docker-compose.yaml
After you copied the content into your file you can exit vim by pressing ESC, typing :wq and pressing ENTER.
Attention! Before we can start the stack we first need to stop and remove the quickstart container since it is named the same. So for this we need to execute the following commands.
# Stop the container
docker stop open-webui

# Remove the container
docker rm open-webui
Stop and Remove Quickstart Container
Now we can start the stack as follows. Make sure you are in the open-webui directory where the docker-compose.yaml file is located.
# Start the stack
docker compose up -d

# View the logs
docker logs -f open-webui
Start the Stack and View the Logs
At this point you can again access Open WebUI in your browser at http://localhost:3000. You can sign up and use it.
To stop the stack just execute the following command.
# Stop the stack
docker compose down
Stop the Stack
Troubleshooting
During the setup on Linux I encountered some connection issues where Open-WebUI wasn't able to connect to the Ollama API. To fix this we must update our docker-compose.yaml file like this.
version: "3.9"

volumes:
  data:

services:
  open-webui:
    image: ghcr.io/open-webui/open-webui:main
    container_name: open-webui
    restart: always
    environment:
      OLLAMA_BASE_URL: "http://127.0.0.1:11434"
    volumes:
      - data:/app/backend/data
    network_mode: host
Updated docker-compose.yaml
Using this approach we directly attach the container to the host network and setting the Ollama API environment variable. To access Open-WebUI we now must visit http://localhost:8080. The rest stays the same.
Conclusion
So this is it. Congratulations on running your own ChatGPT alternative on your local machine. Not only is this free of charge but also much more secure and private then using the commercial LLMs of big tech companies.
I hope you enjoyed this tutorial and if you want to learn a little more about AI I recommend my introduction series on Neural Networks.