Beginners Guide to Setup a Local ChatGPT Alternative using Chatbot-UI and Ollama

I've been looking for a good local ChatGPT alternative for some time now. I found some approaches that were very intuitive and easy to use, but they never had a nice web interface like ChatGPT. Now I have found a good solution and would like to provide a step-by-step guide for beginners to set this up.
Update
Upon publishing this guide, I sought even more straightforward methods for using LLMs on local machines. Thanks to my colleague Tobias Anders, I discovered another project that I detailed in a blog post. I invite you to explore this alternative and if it does not align with your needs, feel free to return to this tutorial at any time.
 Philipp Zimmermann
List of Projects
- Chatbot-UI developed by Mckay Wrigley
- Supabase - the open source Firebase alternative
- Ollama - a framework for running LLMs locally
Prerequisites
Before we can start make sure you fulfill the following requirements.
Node.js
Make sure you have installed Node.js such that you can use the npm command. If that is not the case just google "install npm on <linux/windows/mac>" and you'll be fine.
Homebrew
If you are a Mac or Linux user, you need to have Homebrew installed because supabase can only be installed using the brew command. To install Homebrew you can visist their website or just run the following command.
# Installing Homebrew
/bin/bash -c "$(curl -fsSL https://raw.githubusercontent.com/Homebrew/install/HEAD/install.sh)"
Installation Command from the official Homebrew website
Docker
Docker must be installed for Supabase to run locally. It sets up multiple containers that implement your backend for the Chatbot-UI. So make sure you are able to use the docker command. You can download it here.
Clone repository
To kick this off, the first step is to clone the repository from Github. Therefore, open up a terminal on you machine and type the following command.
# Clone Github repository
git clone https://github.com/mckaywrigley/chatbot-ui.git
Clone the Github repository of Chatbot-UI
Install dependencies
After we cloned the repository we can navigate into the created directory and install the dependencies.
# Change directory
cd chatbot-ui

# Install dependencies using npm
npm install
Installation of dependencies
Install Supabase
Now we can continue with installing Supabase. Use the following commands based on your OS.
MacOS/Linux
brew install supabase/tap/supabaseInstallation of Supabase on MacOS/Linux
Windows
scoop bucket add supabase https://github.com/supabase/scoop-bucket.git
scoop install supabase
Installation of Supabase on Windows
At this point we will start Supabase. It is important to run the following command in the chatbot-ui directory.
# Make sure you are in the chatbot-ui directory
pwd

# Start Supabase
supabase start
Start Supabase in chatbot-ui directory
Set secrets
After the supabase start command has finished you will see a similar terminal output like shown below.
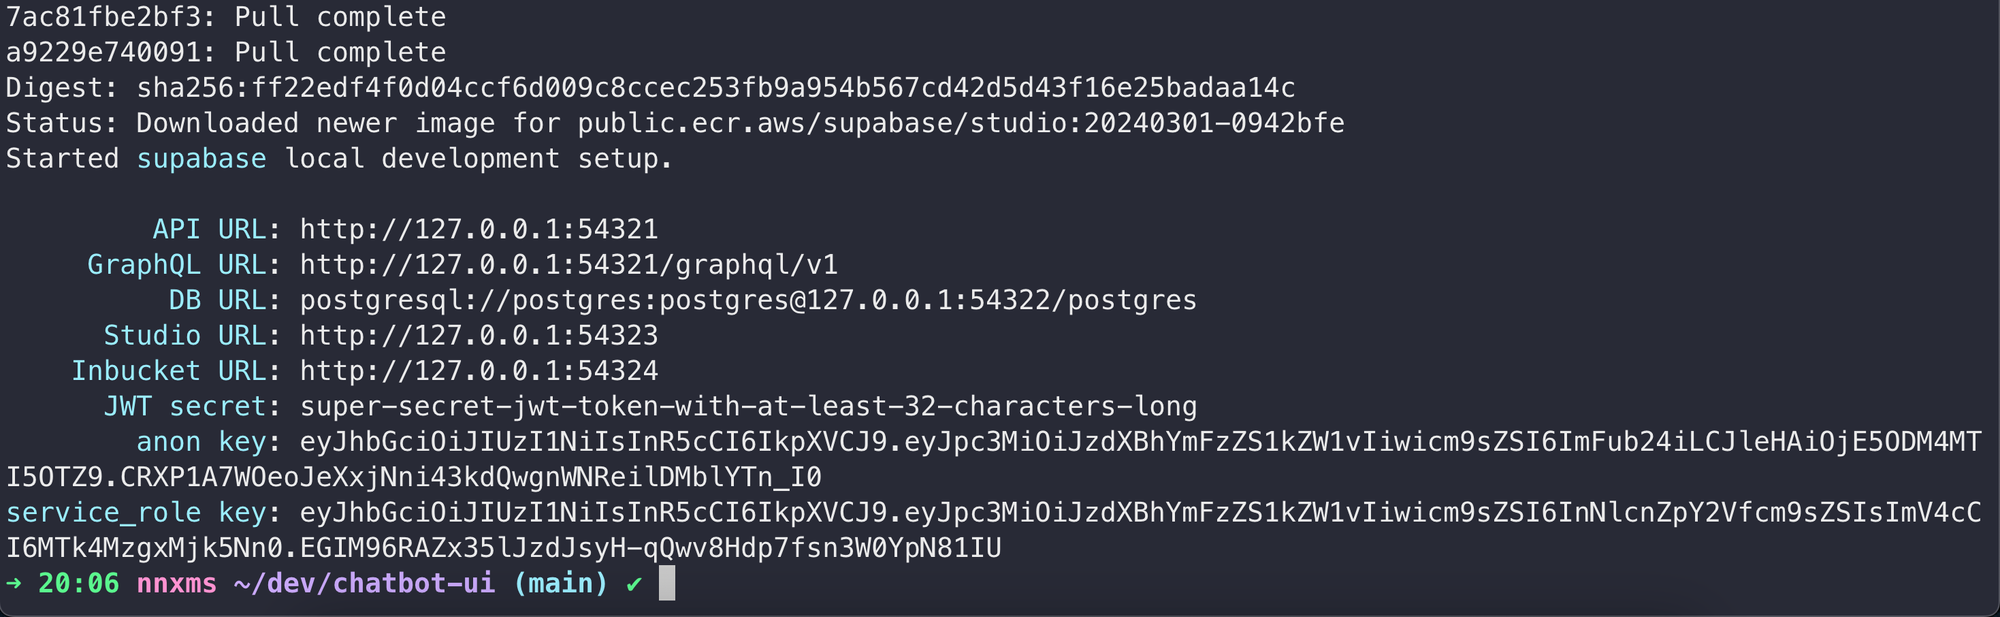
Now we need to create a local environment file where we store some information that we just obtained. First copy the .env.local.example file to a new one that is called .env.local.
# Create new .env.local file based on the provided example
cp .env.local.example .env.local
Create env file
Now open up the .env.local file in your favorite editor and update the values like below.
# Supabase Public
# >> "API URL" from supabase command
NEXT_PUBLIC_SUPABASE_URL=http://127.0.0.1:54321
# >> "anon key" from supabase command
NEXT_PUBLIC_SUPABASE_ANON_KEY=eyJhbGciOiJIUzI1NiIsInR5cCI6IkpXVCJ9.eyJpc3MiOiJzdXBhYmFzZS1kZW1vIiwicm9sZSI6ImFub24iLCJleHAiOjE5ODM4MTI5OTZ9.CRXP1A7WOeoJeXxjNni43kdQwgnWNReilDMblYTn_I0

# Supabase Private
# >> "service_role key" from supabase command
SUPABASE_SERVICE_ROLE_KEY= eyJhbGciOiJIUzI1NiIsInR5cCI6IkpXVCJ9.eyJpc3MiOiJzdXBhYmFzZS1kZW1vIiwicm9sZSI6InNlcnZpY2Vfcm9sZSIsImV4cCI6MTk4MzgxMjk5Nn0.EGIM96RAZx35lJzdJsyH-qQwv8Hdp7fsn3W0YpN81IU

# Ollama
NEXT_PUBLIC_OLLAMA_URL=http://localhost:11434

# API Keys (Optional: Entering an API key here overrides the API keys globally for all users.)
OPENAI_API_KEY=
ANTHROPIC_API_KEY=
GOOGLE_GEMINI_API_KEY=
MISTRAL_API_KEY=
GROQ_API_KEY=
PERPLEXITY_API_KEY=
OPENROUTER_API_KEY=

# OpenAI API Information
NEXT_PUBLIC_OPENAI_ORGANIZATION_ID=

# Azure API Information
AZURE_OPENAI_API_KEY=
AZURE_OPENAI_ENDPOINT=
AZURE_GPT_35_TURBO_NAME=
AZURE_GPT_45_VISION_NAME=
AZURE_GPT_45_TURBO_NAME=
AZURE_EMBEDDINGS_NAME=

# General Configuration (Optional)
EMAIL_DOMAIN_WHITELIST=
EMAIL_WHITELIST=
Updated .env.local file
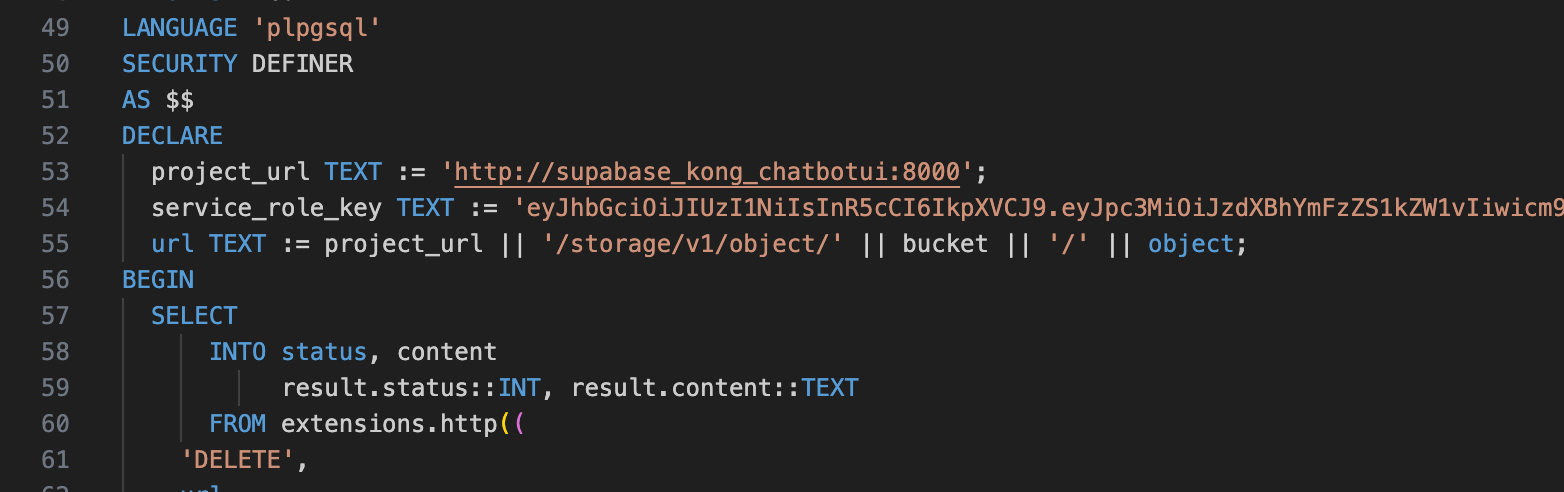
After creating the .env.local file the last change we need to perform is to update one line in the supabase/migrations/20240108234540_setup.sql file.
Just open the file up and at Line 54 you need to change the service_role_key that is already set to the one you obtained from the supabase start command.
Install Ollama
You can also use the Chatbot-UI together with API keys for ChatGPT, Claude-3 or other models but since we want a local solution we need to install Ollama. This is done using their website. Just choose your OS, download and install it.
After we installed Ollama we now need to download some models we want to use. This is a list of all supported models Ollama has to offer but here are some recommendations:
- OpenChat : Smart model with good reasoning skills
- CodeLlama : Llama-2 model finetuned for coding and code explanation
- Llama2-Uncensored : Llama-2 but uncensored
To use each of these models we first need to download them. Therefore just use the following commands.
# OpenChat
ollama run openchat

# CodeLlama
ollama run codellama

# Llama2-Uncensored
ollama run llama2-uncensored
Ollama Models
Run app locally
Finally, we can start the app by executing the following command in the chatbot-ui directory.
# Start Chatbot-UI
npm run chat
Start Chatbot-UI
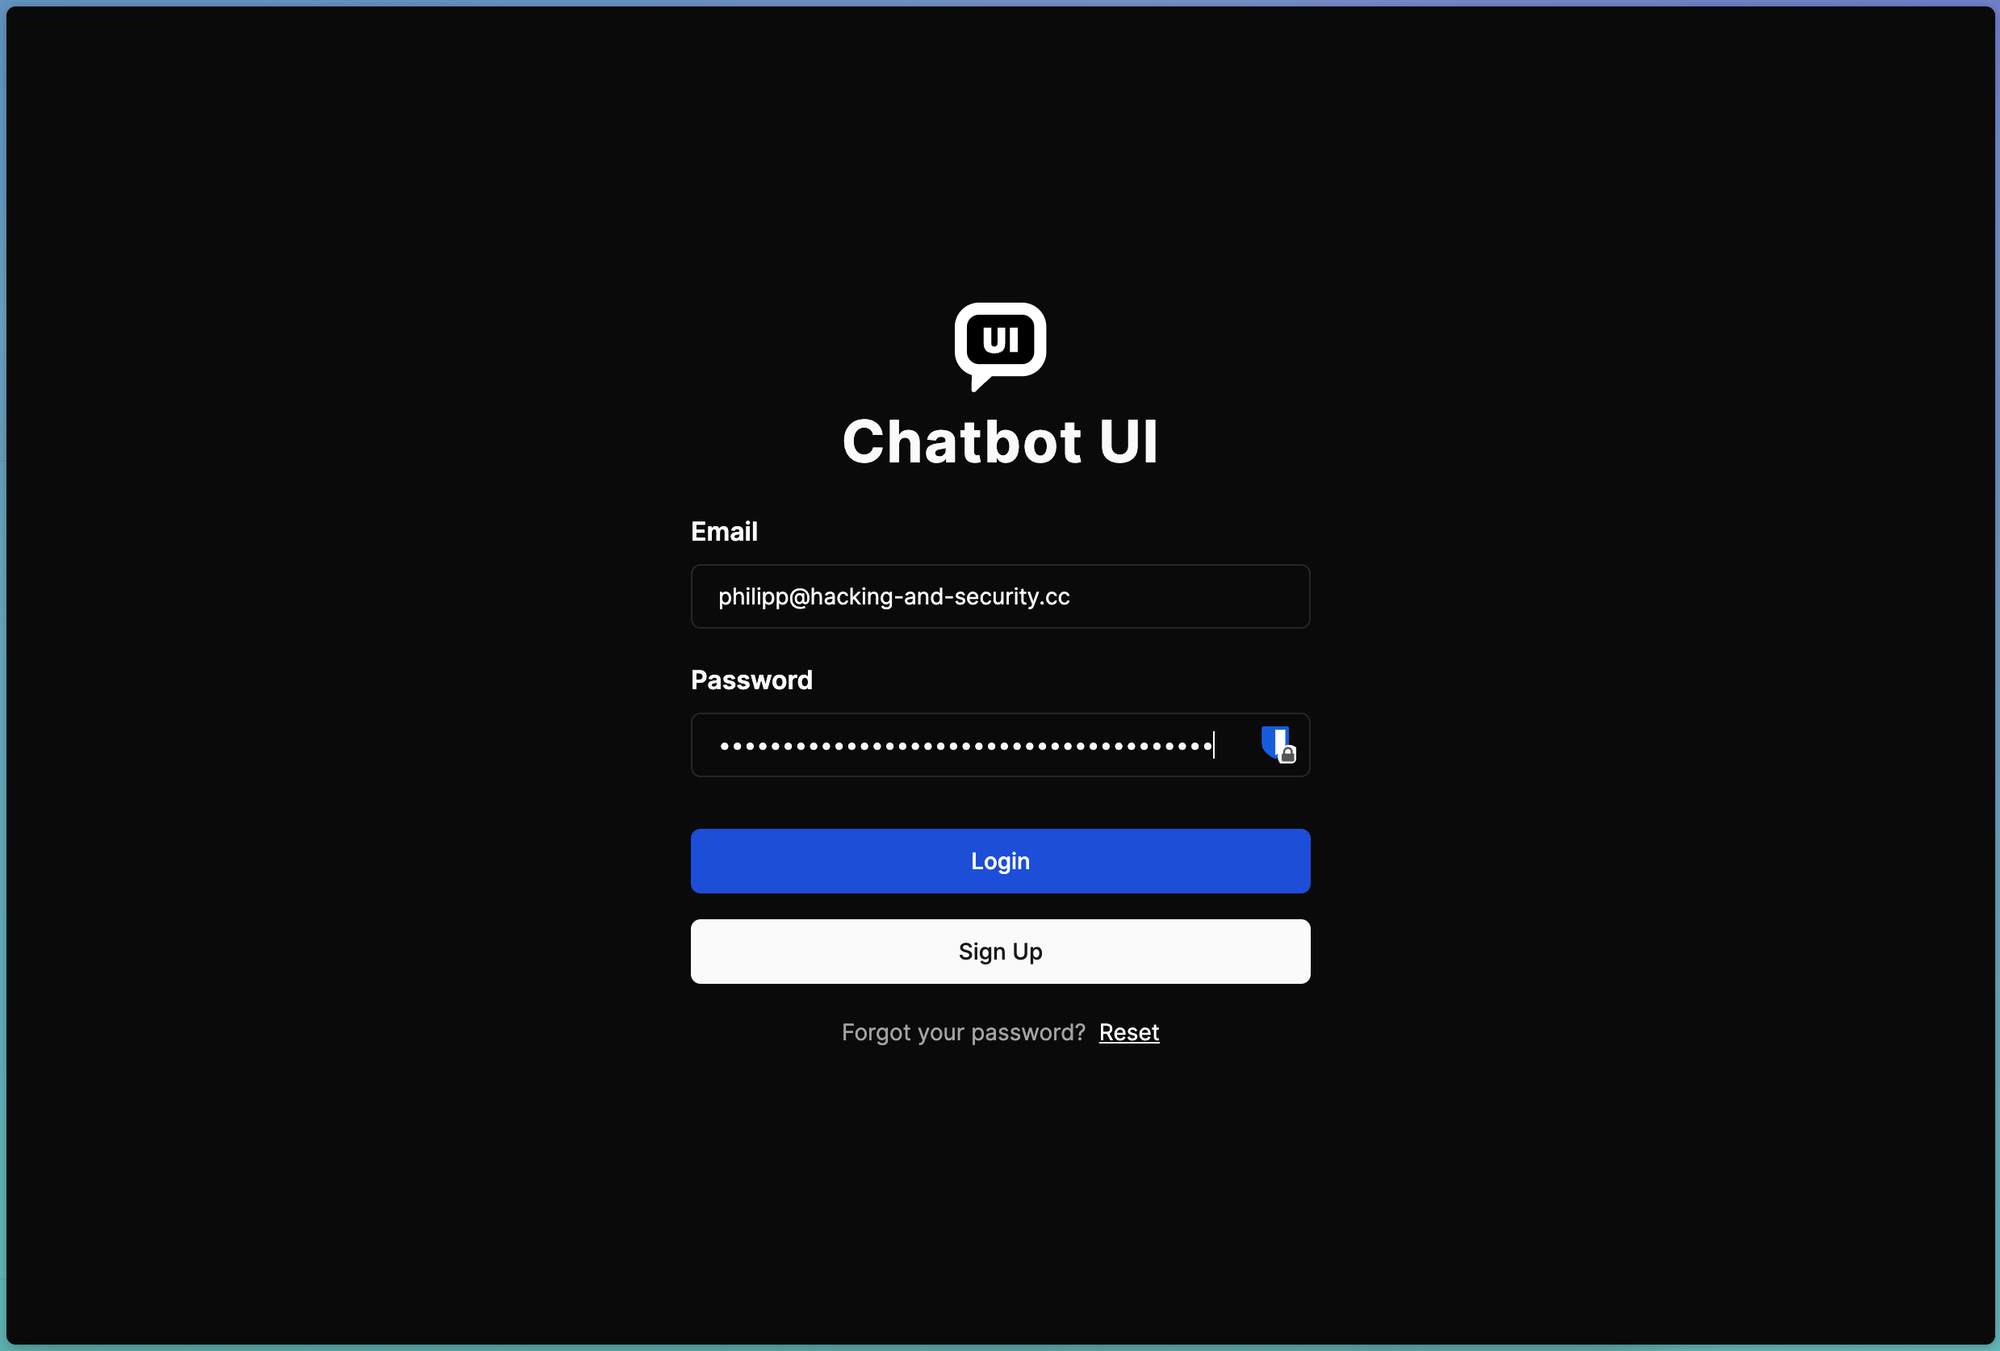
After you executed the upper command you can reach your website at http://localhost:3000/. The initial setup is quite straight forward. You need to "register" an account - however, since this is on your local machine in your local database this doesn't really matter. Nonetheless, you should remember your credentials since you'll need them to login to the Chatbot-UI.
To signup you need to enter an e-mail address and password and submit the request by clicking on "Sign Up".
Chat with local model
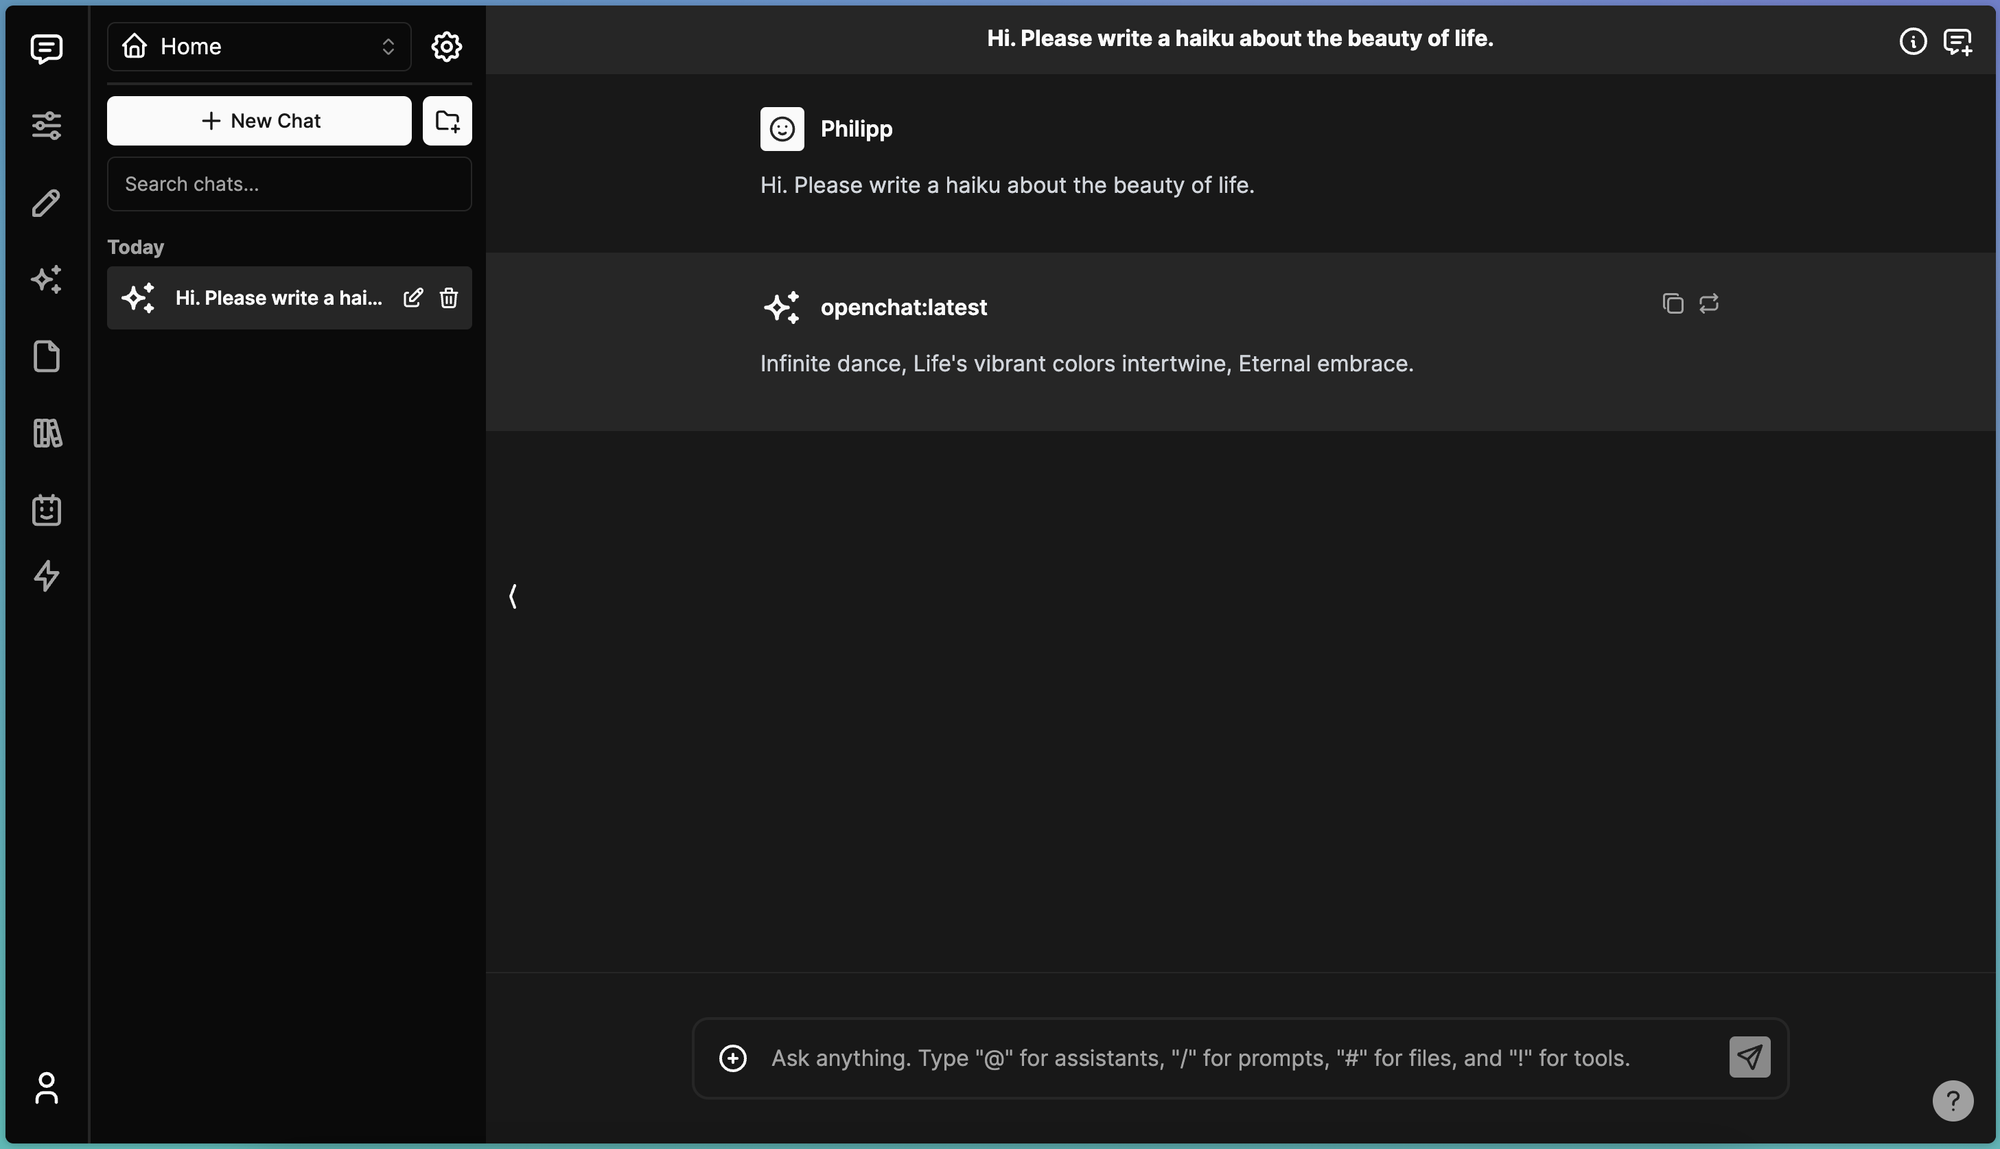
To select different models you can click on the settings icon in the upper right corner. At this point choose a local model that you just downloaded.
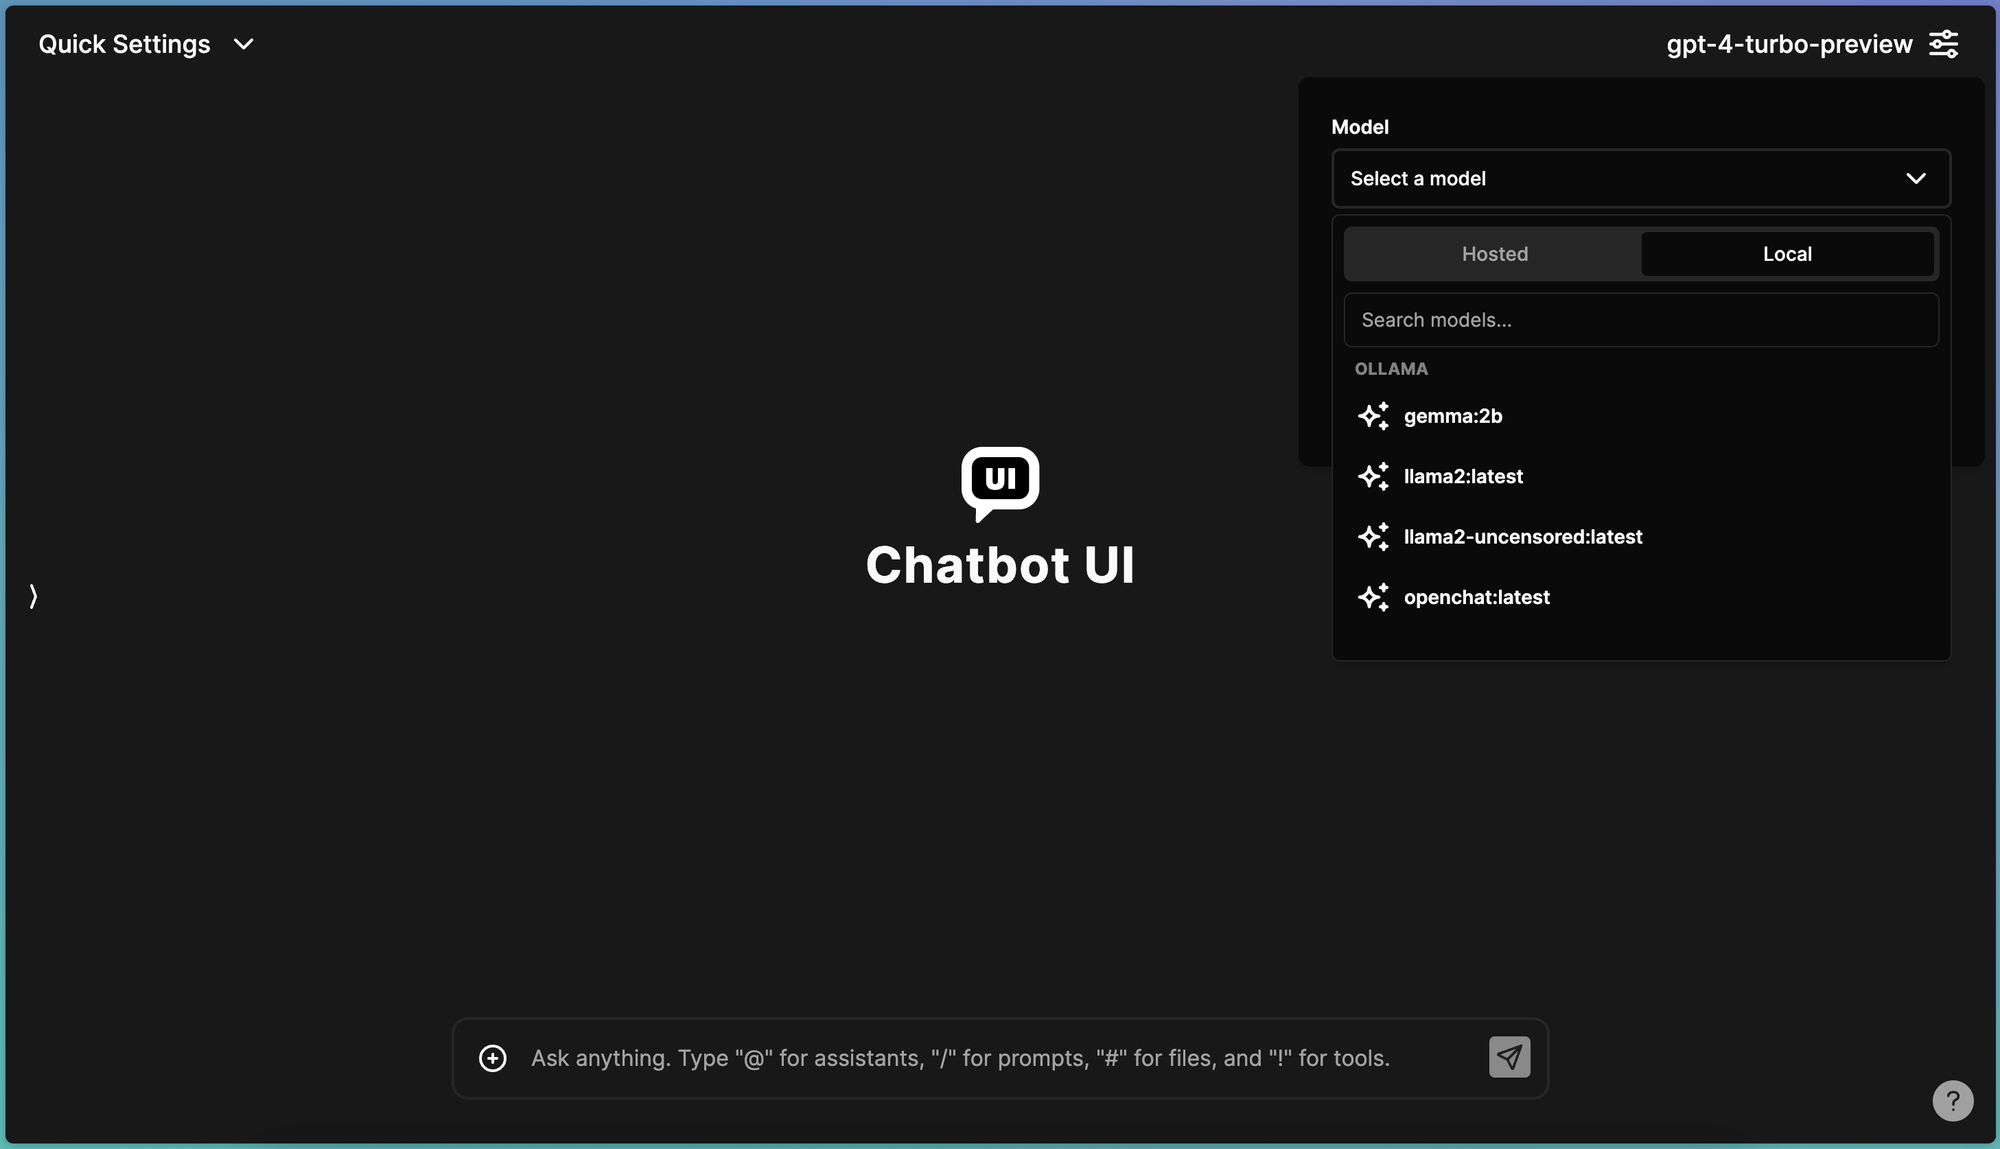
Now you can just chat with the local model like you would with ChatGPT. The response time will depend on your computers hardware but that should not be a problem.
Video-Tutorial
This hole setup process was documented by Mckay Wrigley on YouTube as well. Feel free to check this out.
How To Run Chatbot UI On Your Computer
Conclusion
So this is it. Congratulations on running your own ChatGPT alternative on your local machine. Not only is this free of charge but also much more secure and private then using the commercial LLMs of big tech companies.
I hope you enjoyed this tutorial and if you want to learn a little more about AI I recommend my introduction series on Neural Networks.